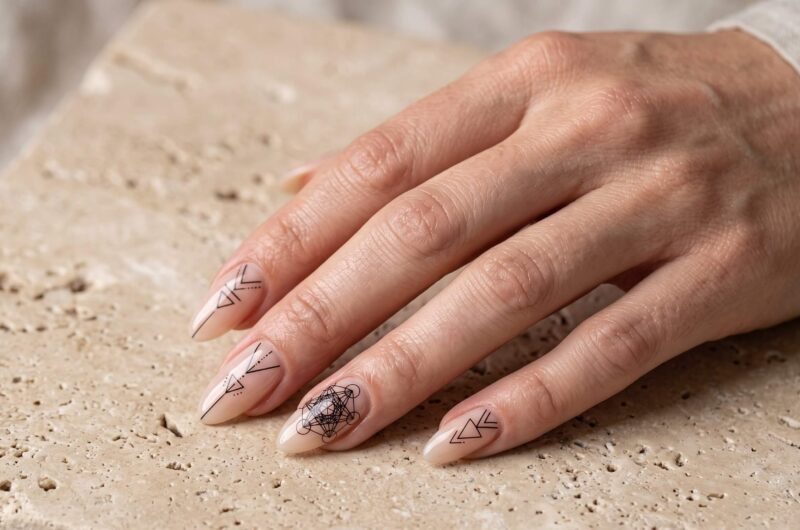

Color Palettes & Textures: The Neutral Bases That Make Linework Stand Out
The base color is not an afterthought. It is an important part of the overall composition.
Minimalist neutral nails provide the negative space needed for geometric linework to remain visible without creating visual clutter.
The Best Neutral Shades for Sacred Geometry Nail Art
- Sheer milk bath: A barely-there milky white-pink that creates a soft, natural-looking canvas. It works especially well with black linework.
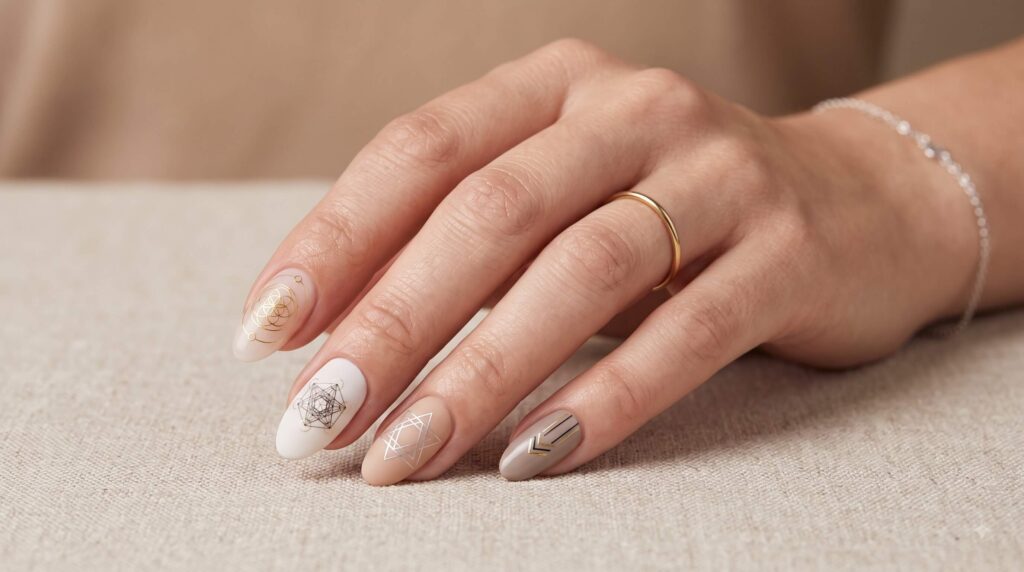
- Porcelain: A cooler, opaque off-white that feels clean and ceramic-like. It pairs beautifully with silver and platinum details.
- Nude beige: A warm, skin-adjacent neutral that works particularly well with gold linework.
- Taupe: A deeper greige-inspired neutral that provides additional contrast while remaining understated.
- Cashmere nude: A muted pink-beige that softens the contrast of black geometric designs.
Matte vs. Gloss: Choosing Your Finish
Your topcoat can completely change the character of the finished manicure.
Matte topcoat gives sacred geometry nails a soft, almost etched appearance. It can make the linework feel like it has been drawn onto stone or ceramic.
Glossy topcoat adds shine and dimension, especially when metallic gold or silver details are used.
For a more advanced finish, try half-matte styling: keep the base matte while leaving selected geometric elements glossy. The contrast can make the design appear almost illuminated against the flat background.
Metallic Accents Worth Trying
Fine gold and copper linework can instantly elevate a sacred geometry design. These shades have a warm, decorative quality that works especially well against nude and porcelain bases.
Silver and pewter create a cooler, more contemporary effect and pair particularly well with porcelain, taupe, and greige tones.
Step-by-Step Salon & DIY Techniques
Whether you are booking this look with a professional nail technician or attempting it yourself, precision is the key to successful sacred geometry nail art.
Step 1: Nail Prep Is Essential
Start with a clean, properly prepared nail surface.
- Push back and gently trim cuticles as appropriate for your manicure routine.
- Lightly buff the nail plate to remove surface shine and improve product adhesion.
- Apply the appropriate dehydrator and primer for your gel system.
- Shape the nails into soft squares, ovals, or almonds.
- Avoid extremely sharp shapes if your design depends heavily on circular geometry, as the shape can visually distort the pattern.
Step 2: Apply the Neutral Base
Apply two thin coats of your selected neutral gel or gel polish, curing between coats according to the product manufacturer’s instructions.
If you are hand-painting directly over the base, use the appropriate surface recommended by your gel system so your detail brush can move smoothly without dragging.
Step 3: Choose Your Linework Method
There are several ways to create sacred geometry nail art.
Gel spider paint or detailer gel:
A detailer gel with the right consistency can make fine lines easier to control. Pair it with a very small detail brush for miniature designs.
Foil tape:
Thin metallic tape can create extremely straight geometric lines without requiring freehand painting. It can be a useful option for beginners.
Micro-decals:
Pre-designed sacred geometry decals offer another beginner-friendly approach. They can help achieve consistent symmetry without requiring advanced freehand skills.
Step 4: Apply Fine Detail With Control
- Load your detail brush lightly. Too much product can cause lines to spread.
- Work from the center outward when creating symmetrical designs.
- Lightly mark circle placements before committing to permanent lines.
- For intricate gel designs, cure according to the product instructions between stages when appropriate so completed details stay in place.
Step 5: Seal and Finish
Apply your chosen glossy or matte topcoat.
Cure completely according to your gel system’s instructions. Avoid relying on a generic curing time when the manufacturer provides specific guidance.
Once the product is fully cured, complete the final cleansing step required by your gel system.